Monday, May 25, 2020

Homemade CURD ... !

Yogurt or Curd in English / Dahi in Hindi/ Thayir in my mother tongue Tamil is created by bacterial fermentation of milk by using the perfect yogurt culture that consists of Lactobacillus bulgaricus and Streptococcus thermophiles. These are technical terms, but to make it simple, it’s a perfect antibiotic and increases immunity in children. Many people think curd should not be given to kids when they are down with cold or fever. It’s a NO. Fresh Home made curd (less than 1 day old) has the antibacterial properties to give the perfect energy, especially during cold. It acquires that property because of the fermentation process. Fermentation releases an enzyme that is really good for our health. That’s why idli is such a comforting food during cold and fever. I used to make curd out of 1 cup of milk every morning (trust me - it’s every single morning) , the curd would have been formed by 4pm or so, make “Thachi mammam” at around 6pm and feed my little one when he was between 8 months and 14 months old.


Usually curd is stored in a red stone pot or matka pots to prevent sourness. I don’t have one. So i am storing it in a stainless steel vessel.


This recipe/technique simply focuses on home made curd made from fresh whole milk using the home made curd culture. There are so many blogs and articles focusing on cheese curd, and variety of yogurts which i am not going to deal with right now (in this post). I always prefer to store a cup of my culture and ensure i never run out of it. That’s an important fridge-treasure for me. If i am going on a vacation to India for more than a couple of weeks, then i will ask one of my friend here in Tulsa, OK. Her age is close to my mom’s and she is a wonderful cook. When i moved here in 2016, I was 7 months pregnant. She used to give me whatever she cooks. She invites us to her group’s potlucks  and that’s how we came to know so many people in Tulsa.  A wonderful place to thank her for everything. Her entire family has always been kind to us. Thanks a lot Brinda aunty and Venkatesh uncle. Residing in a place so many miles away from your hometown, friends and neighbors helping us without asking for, is truly a blessing. When i write this, my heart is full of gratitude and thankfulness. I have so many people to thank and definitely a single post would not be sufficient to do that. As I already mentioned, I will be sharing each and every memory associated with a dish appropriately. So coming back to the curd technique, it’s very important to have a home made perfect curd culture. I don’t trust store bought curd and I won’t use that as a culture because that will never give a perfect, non sticky curd. I also read so many posts on making curd without culture, or using lemon etc... PLEASE ... A big NO !! So get a proper culture from whom you trust and then proceed. 


Reason to chose this recipe or i will call it as a technique again , is today is my dad’s 60th birthday. And he is a big thayir fan. Be it idli, dosa , chapathi, upma, poori , anything and everything, the finishing point is curd for him. Before he washes his plate, definitely it will be white in color. Without curd, he can’t survive. My mom never runs out of curd. Everyday she makes curd out of a half liter milk packet. We have to stop serving it. He will never say “போதும்”. So much love he has for curd and so much love and respect i have towards him, made me write this today, on his birthday. My parents would have been here with us now, but due to COVID-19, their trip and the planned simple sastiabthapoorthy (60th marriage) got cancelled. Anyway, I wish him many many happy returns of the day and praying many many more to come. “Happy 60th birthday Appa. Love you so much.”


Lets move on to the technique.


Preparation Time    : 5 minutes

Cooking time.         : 10 minutes

Fermentation Time : anywhere between 3 hrs and 7hrs


Ingredients:


Whole milk (full fat)       - 2 litres

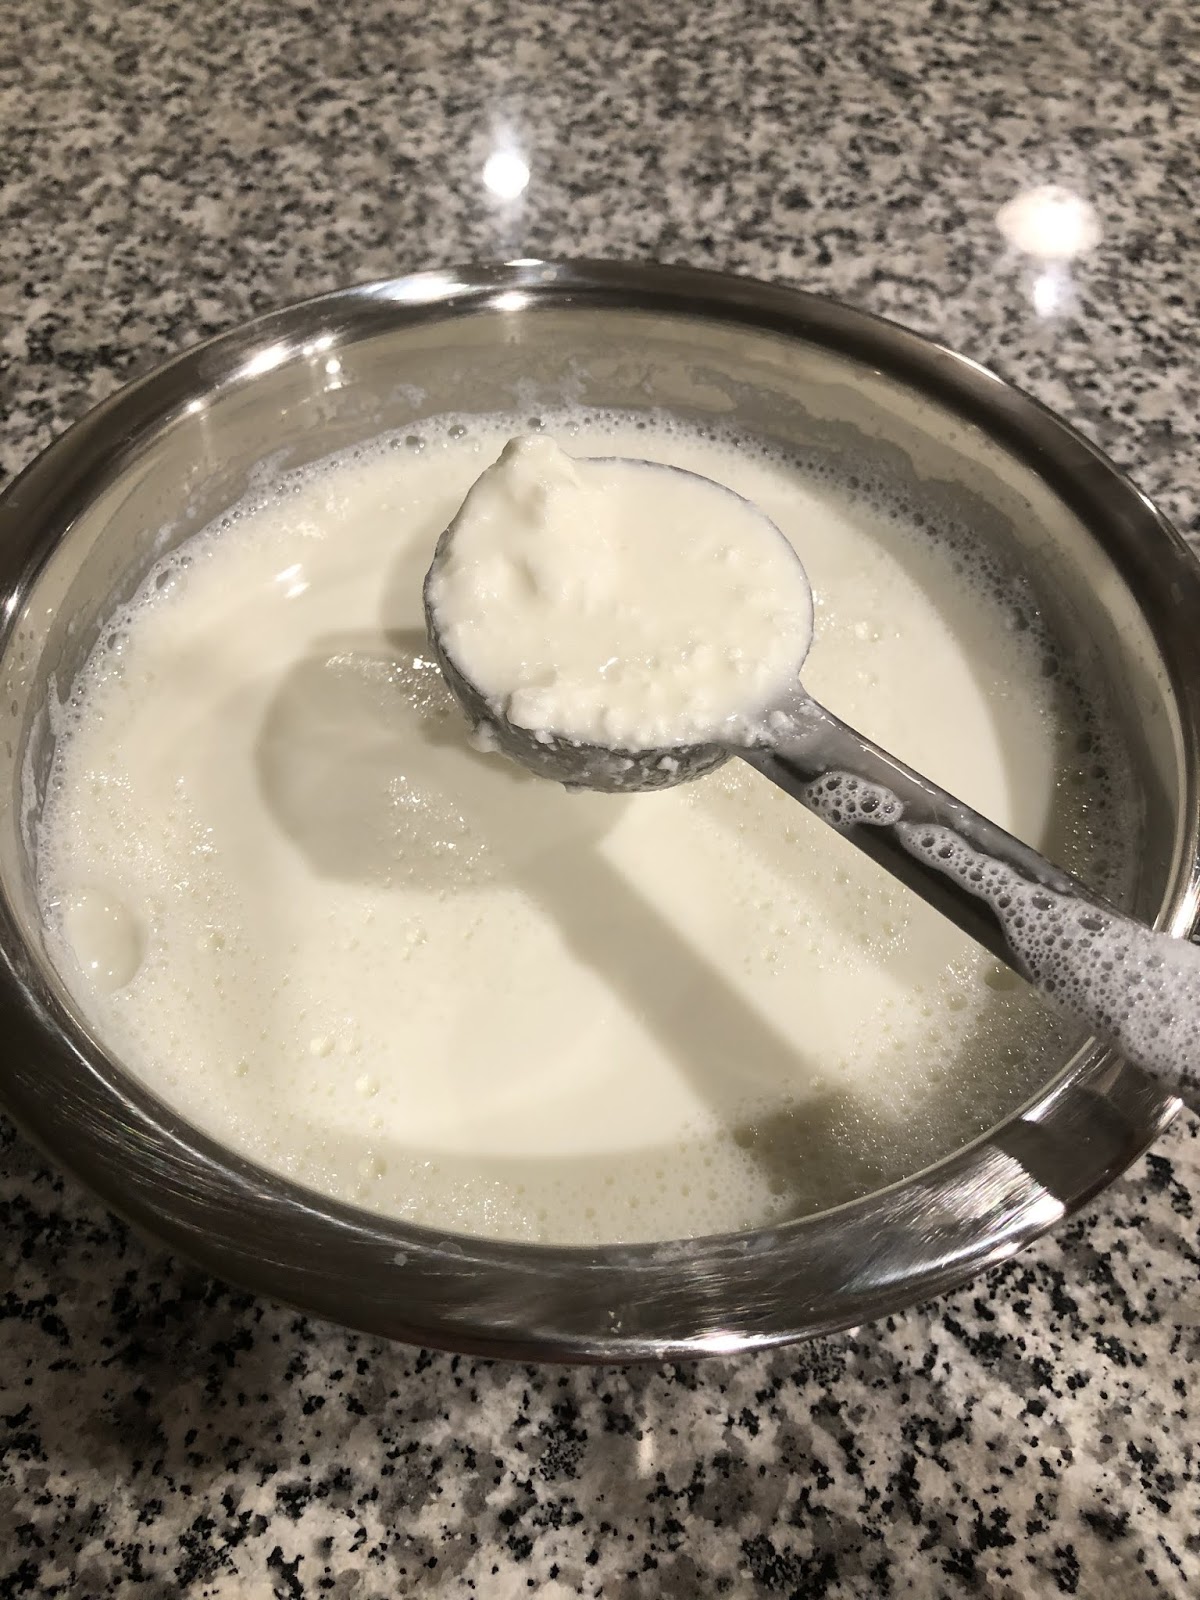
Home made curd culture - 4tbsp


In a saucepan ( i prefer a ceramic or a heavy bottomed stainless steel pan), add the whole milk . Boil it.


Keep stirring it every 3 to 4 minutes to ensure the milk doesn’t get burnt at the bottom. The flame should be in medium - high.


Once it comes to a good boil, turn off the stove and transfer it to another container. I am attaching a video to clearly give a picture as to when the pan needs to be removed from the stove.


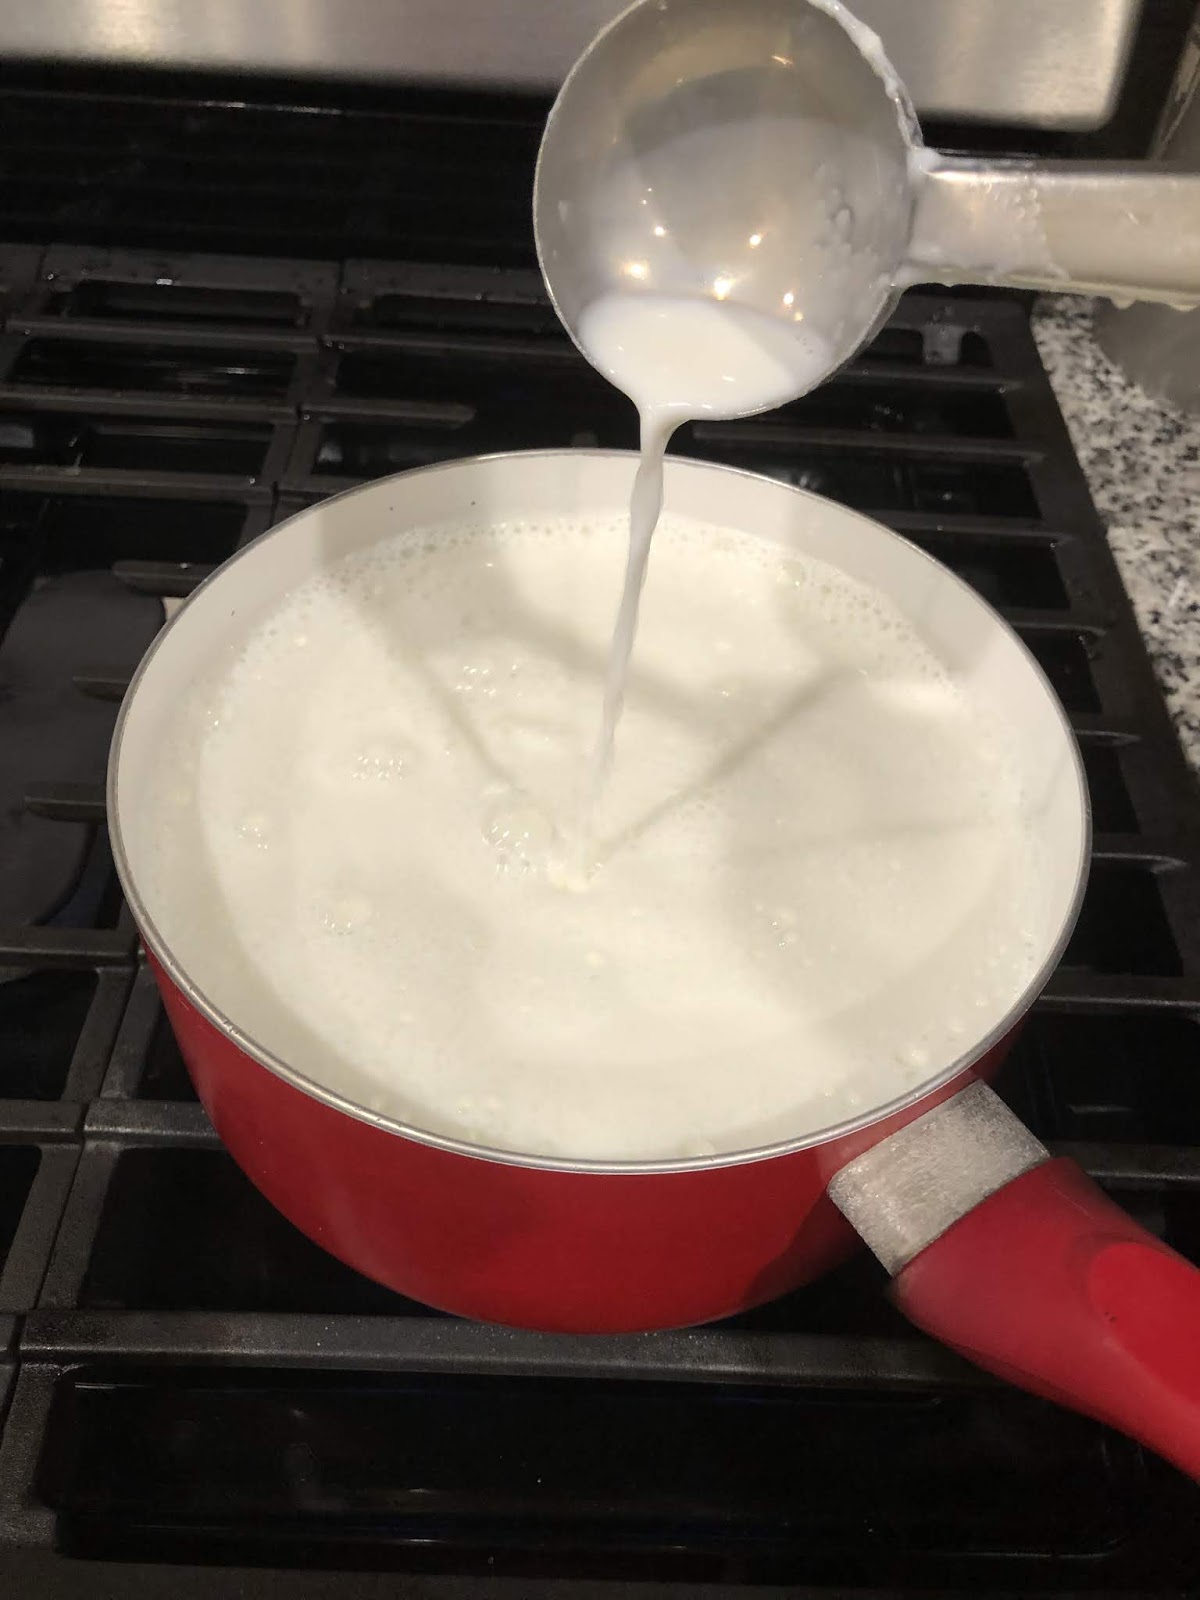
Once the milk becomes warm ( it should not be hot and it should not be luke warm, anywhere between these two) , add the culture and mix it. See the hot air that is coming above from the milk. That means the milk still needs to cool down. Those fumes should stop.


Once the milk becomes warm, add the culture and mix it. Give a good mix. The lumps in the curd culture should break and gets mixed with the milk.


Leave it undisturbed for 4 hours to 6 hours. Check after 6 hours. If it’s set, keep it inside the refrigerator.


Enjoy the freshness of thick, non sticky home made curd. These are little pleasures of life that gives immense happiness and pride.

Important Tips :

1) For a beginner, it’s hard to find out at which stage the curd needs to be mixed, so use a spoon and test the temperature of the milk. Check whether its warm (less than hot and more than luke warm). I used to touch the vessel, decide when to add the culture based on the warmth of the vessel. That takes quite sometime. Until you reach that, please follow the beginner’s tip.

2) People living in colder regions - mix the curd in a slightly hot temperature ie., immediately after the fumes stop. Fermentation occurs quickly. Whereas people in India, add it during the luke warm stage. The curd will be set in just 3 hours because of the weather.

3) Trust me, the curd sets in just 3 to 4 hours for me. I will leave it in my countertop. I won’t keep it inside the oven or warmer. Even during winter, i follow the same. That happens once you start making curd frequently. Personally, i feel keeping it inside the oven or any other artificial methods   (like adding milk powder or instant pot) alter the taste. I have tried instant pot method to prepare yogurt. I did not like it personally and it consumes electricity.

4) Please do not use microwave to boil the milk. Please use the cooktop to boil it.

5) Try to set the curd during the morning. It gets set in 5 to 6 hours and you can refrigerate it as soon as it gets set. If you do it in the night , you might have to leave it for a longer time and the curd becomes sour in taste (my personal experience).

Please feel free to post questions if you have, in the comment section. I am always happy to help. !!!


Sunday, May 24, 2020

Cilantro - Storage Tips !

Coriander , called as கொத்தமல்லி in tamil, cilantro / chinese parsely in United States, are most traditionally used in Asian and american cooking.

The fresh leaves are an ingredient in many foods, such as chutneys and salads, salsa, guacamole and as a widely-used garnish for south indian dishes like sambhar, rasam, pulao etc.. As heat diminishes their flavour, coriander leaves are often used raw or added to the dish immediately before serving. In Indian and Central Asian recipes, coriander leaves are used in large amounts and cooked until the flavour diminishes. The leaves spoil quickly when removed from the plant, and lose their aroma when dried or frozen.

Dried seeds are called as “Dhaniya” , dried leaves are called as “ Dried Cilantro leaves” which can also be used as seasoning in pizza’s, bread etc.. The fresh cilantro leaves combined with dried or fresh ginger and jaggery can be used to make tea which relives headache and nausea . 


In India, the person who sells vegetables gives a handful of coriander leaves and curry leaves for free. In united states, both of them are similar to gold and diamond for us. They are very expensive and we need to take better care to store it effectively to make it last for a couple of weeks. The process takes 20 to 30 minutes for 5 bunches of cilantro, but i prefer to do it because the freshness is retained till you use the last leaf (may be upto 20 days) and you can be guilt free (in terms of wastage). Here is my 2 week old cilantro. 


Take all the bunches. Cut the end part (stems) and keep it separately. Start  plucking the leaves along with the stem if the stem is thin (discard really thick stems and the pale yellow leaves) . 


Discard the pale yellow leaves !!

Once you are done with that step, start chopping the leaves along with the thin stems . Place it on a kitchen tissue for 1 hour. Don’t leave it too long. It need not dry completely. Longer you leave, sooner the leaves turn pale yellow. Also, if you store it in a very moist condition, they will become black , even the next day. So touch and check - not very moist and not too dry. So you should finish this task immediately after getting the cilantro from shop. Trust me, its worth the time and effort. 


Next, chop the stems and leave it for sometime. Store it separately so that you can use it for rasam when it is boiling to give an excellent flavor. 


Store both the chopped cilantro and the stems in a wide stainless steel container. Do not store more than the level that it can hold. Do not compress. They should get enough air to breathe and stay happily in your fridge.

Note : Initially i tried in a wide plastic container. It did turn black in 3 to 4 days. My mother in law asked me to try it in a wide stainless steel box. I had this container that she gave me. I tried it once. It worked out. So this became my cilantro storage box.


So, the way you pluck the leaves, how you chop, how good you store it in the box giving enough air - every single thing matters. So please follow each and every step! Once you start doing this, you will never keep it directly in the fridge. 

Plants, leaves, vegetables, fruits are very sensitive. They have their own life and expect maintenance, love and care. Since they give us so much benefits, why don’t we spare 30 minutes of our time and store them properly, for their sake and our sake too. Give them a happy life until use!! I store my vegetables and fruits in a safe way so that they don’t need to be thrown without using. That definitely happens once in a blue moon (has happened so many times for me,  i can never deny ) , but let’s put some effort to avoid wasting them. Whether it’s free or for money.

Do try this and comment how it works for you ! It definitely gives you immense happiness seeing your herb lasting long. 

Saturday, May 23, 2020

Masala Chai / Tea ...!!!

Chai / Tea is a flavored beverage made by brewing black tea with milk, sugar and aromatic indian spices. I love to call it as “ Chai “ ( not sure why ) , i am a pukka South Indian though! I started liking chai when I was in college. My grandmother used to make it for me every morning ! She made variety of chai’s .. Ginger , cardamom, chocolate, cinnamon , coriander, jaggery etc... all the different varieties of my pati’s will be really tasty ! I will be posting one by one !

This chai is very very close to my heart because i have so many memories associated with my paternal grandmother. Chai is an emotion for me (rather than a drink) . Before marriage, I always have a cup of morning chai during the weekdays and two cups during the weekends (morning and late afternoon). The late afternoon (between 3 and 4pm chai)  was a lovely grandmother- granddaughter time. We chit chat , gossip , talk about ramayana, mahabaratham and so many stories. Right after my bachelor’s & before joining work, i was at home, and she taught me to make perfect chai. Once i learnt, i used to make the afternoon chai for both of us, enjoy it with a couple of marie biscuits (her favorite) sitting in the balcony. Every time after finishing the tea,

She : “ ரொம்ப நன்னா இருக்கு “.
Me : “ பாட்டி, உங்களோட டீ டேஸ்ட் கிட்ட கூட இல்ல”.
She : “ அது வரும் போட போட. “

I always cherish those wonderful times. After marriage, it became 1 cup in the morning and 1 cup in the afternoon on all days since i am a homemaker. I always prefer to spend 5 minutes of undisturbed lone chai time every morning. I get a positive energy to go through the long day. So, i used to finish cooking before 7am , pack my husband’s breakfast and lunch, sit for 5 minutes, sip it by enjoying the view of lovely sunrise through the living room window. That 5 minutes is very precious for me as it gives me so much energy to do all the chores. My parents and in-laws are coffee people in the morning. They drink only the evening chai. So i loved the evening chai with them when they visit us. A movie will always be a good company for us during the chai time. I always try to create memories with chai. I have a friend here in Tulsa, OK who loves chai. Whenever we visit each other, the first thing that we do is put a chai and drink together chit chatting.

Chai lovers...... Enjoy each sip with the lovable people around you , make wonderful memories that you can cherish for a lifetime...Small things in life can create beautiful memories.. LIVE LAUGH LOVE ! Dedicating this post to my grandmother and to all those people who loves chai.


Preparation time :  5  minutes
Cooking time      :  7-10 minutes

Ingredients :

Water.                    - 1/2 cup
Milk                      - 1/2 cup
Green cardamom  - 1
Ginger grated       - 1tbsp
Cinnamon            -  1 inch piece
Clove.                  - 1
Tea powder.         - 1 tbsp
Sugar.                  - 1.5 tbsp

In a saucepan, add water. After a minute, add green cardamom, clove, cinnamon and grated ginger. Let it come to a good boil.


Add the tea powder and sugar. Boil it for a couple of minutes until you realize the tea water became thick.


Add milk during this stage. Let it come to a boil. Turn off the flame when the milk starts boiling. 


Leave it for a minute until the essence of the herbs and spices blend with the milk.


Serve hot ! Enjoy with your favorite cookie !


Matka Chai !!!!!

Friday, May 15, 2020

GGG (Ginger/Garlic/Green Chilli) Rasam ..!!!!

Rasam is a simple , easy and a quick recipe. It takes so many names - saaru in kannada, chaaru in telugu, soup in english etc..

Rasam has numerous types (with anything and everything you can make rasam - be it fruits , vegetables, grains, herbs and infact coconut water) . Each rasam tastes unique. Its just a thin soup which tastes wonderful with hot plain white ghee rice and a dry vegetable curry. I love the combination of garlic rasam and potato fry/ dry okra fry.

This rasam is a quick one and doesn’t require rasam powder. Reason to chose this specific rasam as the third post is my husband. He loves this rasam along with potato fry. I dedicate this post to him !

Garlic is very good for health. It removes bad cholesterol, improves digestion, lowers blood pressure, soothe teeth and gum pain.

Ginger is good for digestion , reduces the risk of heart disease, improves immunity and gives a strong and unique flavor. Dried ginger is called “Sukku” which is used in tea, coffee, juices etc.. Sukku rasam also tastes good. Sukku relieves headaches when just kept in mouth for a hour or so.  I incorporate it in tea, juices, dry curries too for a unique flavor. Fresh ginger and Dried ginger differ in taste. This recipe uses fresh ginger.

I created this recipe. There is no specific source for this. Usually garlic rasam doesn’t require tomatoes. I use ripe tomato and reduce tamarind. I don’t use any dal for this recipe. It alters the tangy and sour taste of this rasam.

This rasam is really healthy when you are down with cold or fever. Kids will cherish this. If your kid is not a spice lover, please reduce the quantity of green chillies according to your spice level.

Preparation Time  : 10 minutes
Cooking Time       : 15 minutes

Ingredients :

Tamarind               - small lemon sized ball or Home-made Tamarind Paste
Ripe Tomato         - 1
Garlic.                   - 12 to 15 cloves
Ginger.                  - a small piece ( 1 inch )
Green Chilli.         - 2 to 3
Cilantro stem.       - a handful
Turmeric powder  - a pinch
Stone hing.            - a small piece
Gingelly oil           - 1 tsp

For tempering: (TADKA)

Ghee                    - 1 tsp
Mustard seeds     - 1tsp
Cumin seeds       - 1 tsp
Dry red chilli      - 2 or 3
Curry Leaves      - Few

Garnish : Cilantro

Serves - 2 to 3 people.

Before moving on to the recipe , i wanted to give a small tip :

Soak garlic in water for 10 minutes. This step is to easily peel the skin of garlic. Trust me, you will never get bored to peel the skin of garlic. You can peel it in 5 minutes. ( be generous to use 15 cloves because the garlic adds more flavor). Please do not skip this step. You will start following whenever you want to peel garlic. This recipe can have a little of garlic’s skin too. Garlic’s skin adds real flavor to the garlic rasam. Try to leave some skin.

Ginger : Do not add the skin. It’s not healthy. Peel the skin and chop it.

Green Chilli : Slit it vertically. Do not put the chilli directly as it will splash the oil.

Tamarind : I used my tamarind paste in this recipe. For those who don’t have the paste, take a lemon sized ball, soak it in hot water for 15 minutes and extract the juice from it.

Let's move on to the recipe..

In a small tadka pan, add gingelly oil. Put the peeled garlic and it’s skin (few) . Saute until raw smell goes and ensure it doesn’t get burnt. Add chopped ginger and the slit green chillies. Saute for a minute.


Now add the chopped tomato. Saute for just 2 minutes till the raw smell goes off. 


Allow it cool. Blend it into a coarse paste and at the same time, make sure the ingredients are not big in size after grinding. 


Now, take a vessel and put the tamarind juice , a pinch of turmeric powder , stone hing (I personally prefer stone hing instead of powdered one for more flavor and nutrition) , salt and cilantro stem           ( stem adds more flavor to the rasam especially , I usually store cilantro and the stem in a different way which lasts upto 2 weeks). Allow it to come to a boil. Boil for 5 to 7 mins until raw smell of the ingredients goes away and close the vessel to retain the flavor of the rasam. 


Once the raw smell goes, add the ggg paste to the boiling tamarind water and allow it boil for another 5 minutes.


Tadka :

Add the mentioned ingredients under tempering. Use ghee.


Turn off the flame and the tempered ghee to the rasam and garnish with cilantro.


Enjoy with hot rice and potato fry !  

Monday, May 11, 2020

Homemade Ghee ...!!!

Ghee is a form of highly clarified butter that is traditionally used in Asian cooking.

Ghee is made by melting unsalted butter. The butter separates into liquid fats and milk solids. Once separated, the milk solids are removed, which means that ghee has less lactose than butter.

Ghee has a stronger and nuttier flavor, as well as a dark brown hue ( called as “Kasandu” in Tamil which tastes heavenly when mixed with hot plain white rice). So i never discard the hue. I use it while making dosa, chapathi or mix with hot white rice.

From a cooking perspective, ghee provides a lovely flavor to recipes. Especially Hot Ghee Dosa, Hot roti’s , pulao (vegetable fried rice) and the list goes on. It not only adds flavor to the recipes, but is very healthy. By removing the milk solids from butter, the smoke point increases significantly. Smoke point ( also called burning point ) is the temperature at which the oil stops shimmering and starts smoking producing a continuous bluish smoke that becomes clearly visible. Deep-frying, sauteing, for instance, requires an oil that can reach 375 F before it begins to smoke. Higher is always the better.

Smoke point of butter is anywhere between 200 and 250 F.
Smoke point of ghee is 485 F, which makes it an excellent cooking oil.

There was a study conducted in the year 2018 by leading food researchers in India. The result of the study proved that that fat and cholesterol in the blood was healthier in the people who ate more ghee. In the process of making ghee, many of its dairy proteins and carbohydrates are removed, it contains much lower levels of dairy proteins such as Casein and Lactose than regular butter. This fact makes it beneficial for people who are lactose intolerant. Ghee contains butyrate (a fatty acid) which improves digestive health and anti-inflammatory effects.

There are numerous benefits of ghee. Please try to include it in your everyday diet. In South India, ghee is a very important staple. Ghee is used as an Ayurvedic massage and as a base in herbal ointment for treating burns and rashes. I use ghee as a lip balm for my son.

So, Homemade ghee has the unique taste. Once we start preparing the ghee at home, we will definitely stop purchasing it outside. I am not sure about the cost because I have never used store bought ghee. Just for the sake of taste, i go with home made one.

Reason to chose this as my second post is my little boy Cheeku. He loves ghee. That’s the main side dish for everything that he eats. Be it idli/ dosa/ chapathi/ rice, anything and everything. Last week, i made Bajji since he was craving for it. Once i finished preparing and served him in the plate, he told me “ அம்மா நெய் மறந்துட்ட போட ”. I told him “பஜ்ஜி கு நெய் தேவ இல்ல டா செல்லம்“. He said “ எனக்கு வேணும் மா “ !! So much love he has for ghee. In fact, i used to take solidified ghee and pack it safely whenever we are going on a vacation. He easily identifies the taste of outside ghee and will never eat his pappu mammam without home made ghee. My husband is not a fan of ghee. I try to include it when i make rasam, vegetable pulao etc..

I don’t call this as a recipe. It’s a technique which needs to be followed perfectly to yield tasty ghee without losing it’s flavor and nutritional values. I am posting it along with simple tips and tricks.

Let’s move on to the technique.

Preparation Time : 5 minutes
Cooking Time      : 30 to 45 mins

Ingredients:

Unsalted Butter    - 2 LB

Drumstick leaves - handful ( optional )

Use a heavy bottomed vessel or a high quality stainless steel skillet to melt the butter so that milk solids do not rapidly burn. Apply medium to low heat (infact simmer the flame) to melt the butter, because it should not reach the smoke point.


Once the butter has completely melted, increase the flame from simmer to medium. The butter will bubble and begin to separate. Some of the milk proteins sit on the surface as it separates from the fat and water. You can use a spoon to skim most of the white solids on the surface and discard if any of your family member is intolerant to lactose. I skip this step and allow the white solids to sink.


Allow remaining solids to sink by constantly stirring every 5 minutes. Continue to simmer the butter over medium - low heat. I love the sizzling noise the butter makes during this stage.


Make sure to have an eye. It will quickly begin to change a golden color with brown solids formed at the bottom of the pan. When you see this change and smell flavors, it’s time to turn off the heat. Remove the pan from the stove (keeping it above the hot surface might burn the ghee) . 


Allow the ghee to cool for 10 mins. Then strain it carefully to get the brown solids separately. 


As I mentioned, i store the brown solid (Kasandu) ! 


Additional information:

In India, people used to put washed fresh drumstick leaves (murungai keerai) after removing the pan from the stove. Then , strain it along with brown solids. It adds so much flavor and nutrition to the ghee. I do it if i have it and later eat it with the kasandu mixing it with rice. This time, i did not have it. So i skipped that. If you have the opportunity of getting the fresh drumstick leaves, please put a handful of it. That really tastes yum! 

You can store ghee for 1 and a half months at room temperature, refrigerate or freeze for 6 months. 


Saturday, May 9, 2020

Palgova / Therattipal !!!

This is my first recipe. There are two reasons to start the blog with this recipe.

i) Starting the blog with a sweet recipe.
ii) This is my mother’s favorite sweet and since today is mother’s day, i wanted to share her favorite. Ironically, the source of the recipe is obviously my mom’s fail proof one.  

For some reason, i love to call the sweet as “Therattipal“ instead of Palgova. My mom’s therattipal will taste heavenly and i never imagined it takes so much time and effort to get the final outcome.
Therattipal is loved by all. Even though its time consuming, it’s worth the time and effort.

I wanted to mention few tips to get the desired result before starting with the recipe. Personally, i prefer whole milk (without adding water) and white sugar. Replacing white sugar with brown sugar (naatu sakkarai) or jaggery will definitely have a difference in taste. I love my therattipal to be golden white in color. Adding jaggery or brown sugar will alter the taste as well as the color. This is my preference. This recipe completely uses white sugar.

I used a heavy bottomed vessel for preparing. Either go with non stick or a heavy bottomed vessel.

Let’s move on to the recipe .. !

Preparation time : 5 minutes
Cooking time      : 1.5 - 2 hrs

Ingredients:

Whole milk  -  4 cups (1 litre)
White sugar  - 1/2 cup
Ghee             - 1 tsp

In a heavy bottomed vessel or a non stick pan, pour the whole milk and start boiling it.
For a few mins let the stove be in high flame. After a few minutes, simmer the flame.


Boil the milk in low flame, stirring it every 5 min so that the gova doesn’t stick to the bottom of the vessel. Milk starts reducing and attains semi solid consistency.


Once the milk attains the consistency, add white sugar. When you add sugar, the mixture liquefies slightly.


Keep it in low flame and keep stirring it for 5 to 10 mins. Switch off the flame when the mixture is 95 percent solid.


Therattipal solidifies once cooled down. After switching off the flame, add ghee. Transfer it to another vessel and allow to cool it down for a hour. The perfect consistency will be attained.


Yummy therattipal is ready.


Friday, May 8, 2020

Gratitude ...!!

This is an exclusively “Thank you” post for the most important people in my life.

Thank you AMMA and APPA for all the sacrifices. You nurtured and protected me and taught me with great care. I am grateful for everything...!

Thank you LALITH for bringing out this good skill of mine . You gave me the complete space to try out new recipes and for being a good critic! Thank you VIDYUTH (Cheeku) for being my lucky charm. You made our life beautiful. 

Thank you FATHER IN LAW and MOTHER IN  LAW for being very supportive. 

Thank you my dear friends and relatives. 

Each and every recipe is tried and tested. I will definitely mention the source from which i have adapted the recipe. I will work on giving fail proof recipes with accurate measurements and make the blog easier for beginners too.

Cooking is an art! It requires precise mixture of ingredients, seasoned with spices, cooked at right temperature with patience and love ! 

Do try my recipes. Feel free to comment and give your suggestions. I will be happy to have different versions of a single recipe with same or different ingredients and measurements. 

Welcome to Khana Priyam ... !! 

Enjoy and happy cooking ... !!! 


Pepper - Cumin Rasam (Milagu - Jeeraga Rasam) !

Pepper - cumin / மிளகு - ஜீரகம் rasam is a quick and tangy South Indian soup made from tamarind, pepper-cumin and garlic. This rasam is good...